
How to create your chatbot in 30 minutes
You're one step closer to creating a chatbot for your company or your employees. In this tutorial, you will learn the basics of creating a chatbot, limiting its scope, categories, questions and types of answers. We divided the tutorial in 7 steps. Here you will find 10 action screenshots and 6 videos that will guide you on the development of your chatbot.
Download the tutorial Schedule demoStep 1Ask Yourself

What specific problem will the chatbot address?
Will it be a chatbot to reply general and simple HR questions? Will it support employees during a relocation? Having a defined and concise scope is crucial to plan efficiently the knowledge the chatbot will have.

Make a list of categories of questions
List 2 or 3 categories of questions your chatbot will reply to, these categories will help you organize your ideas before starting. You can easily modify the categories on the platform.

Who is the chatbot’s end-user?
Perhaps it’s a chatbot for all your employees, a dedicated chatbot for the HR department or a chatbot for clients who land on your website. Bear in mind how your company communicates with employees or clients as you will have to write questions following your company communication standards.

Write 4-5 questions per category
You can write more, but 4-5 will be enough for a first testing bot.
Step 2Create a new chatbot
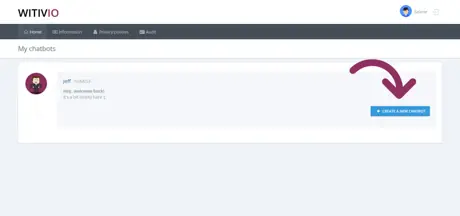
First of all, access to app.witivio.com with your account. If you haven't created your first chatbot yet, click 'Create new chatbot'
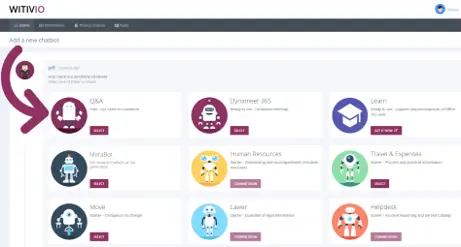
You might see on your screen several chatbots. These are starting templates with some related questions to show you the possibilities. You can choose between one of these templates or the Q&A Chatbot that is empty. In this tutorial, we are going to customize one to your need: select the 'Q&A Chatbot.'
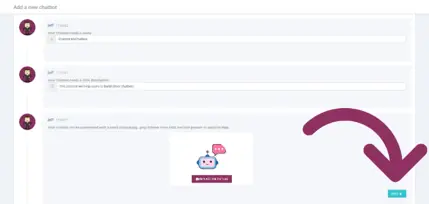
Then choose a name, describe his function using the answer of question nº1, add a profile picture, and press Next . No worries if you haven't decided yet on its name or picture, you can change all this information later.
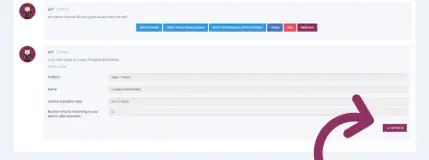
Please select the channel where it will work. For a first testing chatbot, we recommend creating a bot that you can implement on a website, only because it doesn't require any additional information. Select webchat and click Activate.
Step 3Configure your chatbot
Now that your chatbot is activated. Authorize it to configure data by clicking on 'I authorize you'. If Microsoft doesn’t allow you, please contact us: contact@witivio.com . Once you have authorized, click 'Next'.
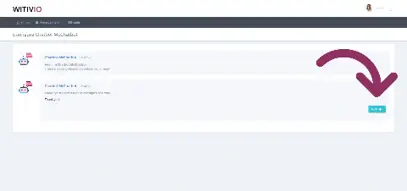
You could connect your SharePoint to the chatbot but, in this case, we are not going to do it. Click 'No, thanks' and then 'Validate'.
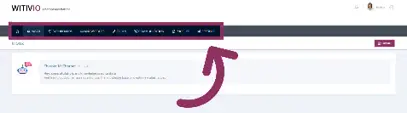
Once you are inside your chatbot, familiarize yourself with the different tabs. Go ahead, enter in your newly created chatbot, click on the tabs and then come back.
Step 4Create categories
Now that you are familiar with the tabs, it's time to create categories of questions. Why creating categories? Because it can quickly get messy, using categories will help you organize the 'knowledge' of your chatbot and will display your data on the dashboard more clearly.
- Go to the 'Knowledge' Tab
- Click on 'Categories'
- Add the categories you answered in the introductory questions
Categories are only visible to an admin not to users, and you can modify them any time.
Step 5Add the questions
Let's add the first question!
- Go to the 'Knowledge' tab
- Click on KB (Knowledge Base)
- Select the category of the question and the type of question (Free or from a template)
Keep in mind that you have to write questions from the user's perspective. Watch this video to learn how to add questions:
Adding alternatives is critical. Sometimes, we can ask for the same information with a different question. For example, a client could ask: how much is ...? What's the pricing of...? What does it cost to...? or an employee could ask: how many days off do I have? To how many holydays I’m entitled? etc.,
The chatbot is not a Q&A tool, but a machine that progressively learns from the knowledge you bring it. Watch how we add alternatives on the video:
How about synonyms? We also recommend you adding synonyms of the relevant keywords. For example, day off, holidays, vacation, etc., or pricing, price, cost... Adding synonyms will help the chatbot to understand different reformulations of the same question. It will prevent you from having to write down all question possibilities.
Do not rack your brains trying to find synonyms, instead use any online synonym dictionary. Also, add synonyms to teach it common acronyms in your work environment, for example, HR, GDPR. Teaching your company jargon will make your chatbot adoption easy.
Step 6Add answers to your questions
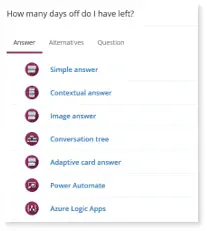
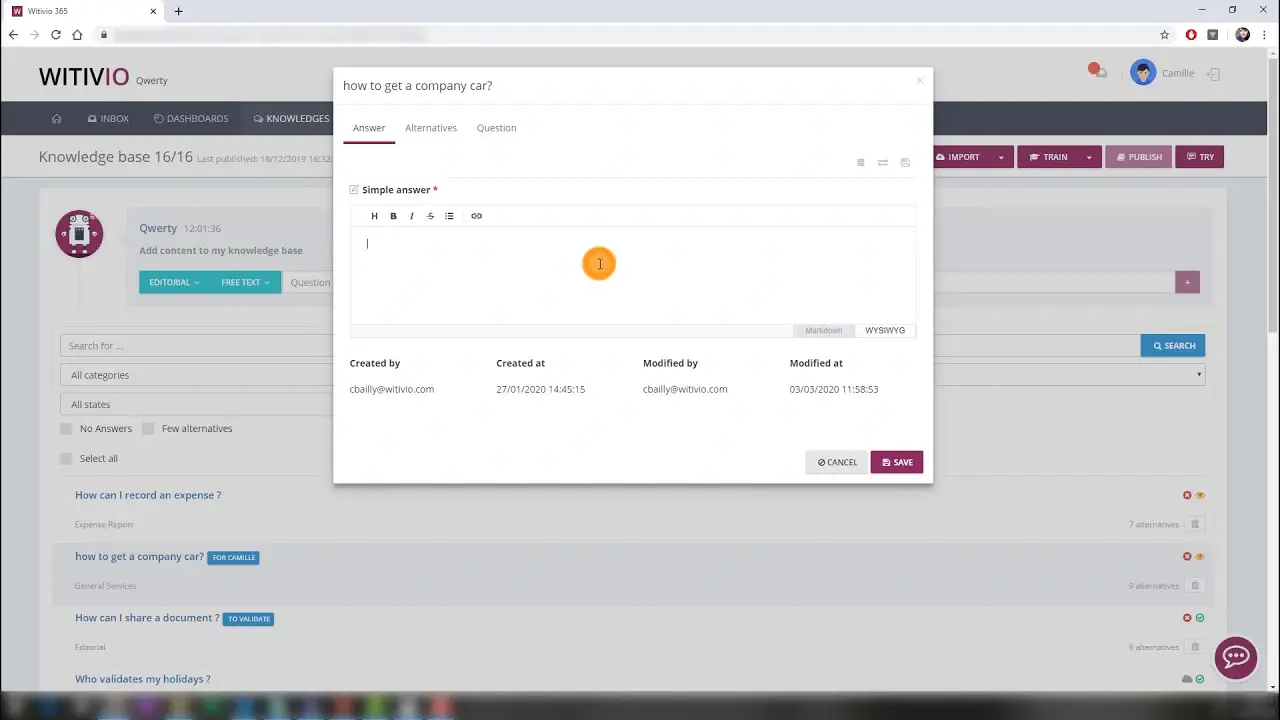
Now that we have a some questions in the Knowledge Base (KB), we can reply to these questions. For that, Witivio offers different types of answers.
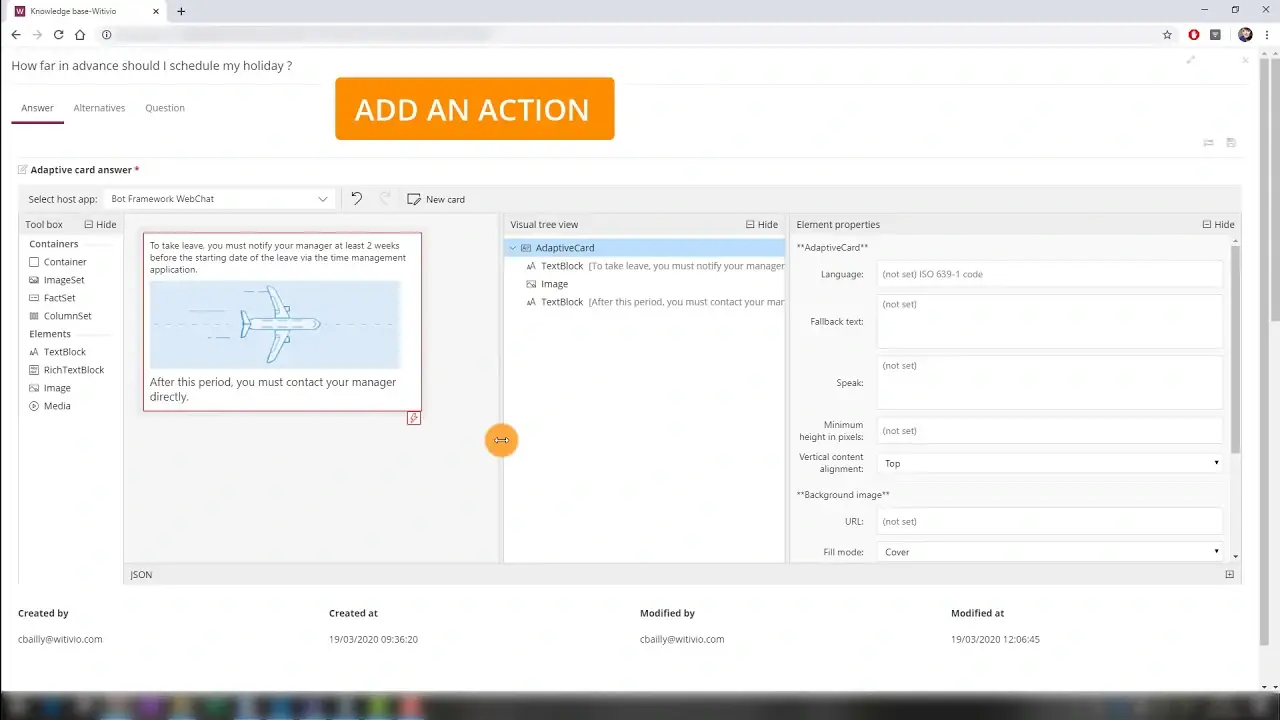
To create a chatbot quickly, in this tutorial, you will learn how to create simple answers and how to develop adaptive card answers. Watch the next two videos to find out.
If you're curious about the rest, navigate to Witivio Documentation to learn more about Contextual Answers and Conversational Tree.
Step 7Try your new chatbot
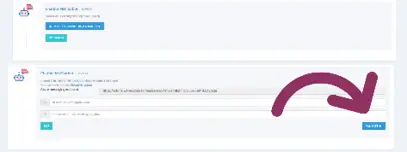
Finally, last step. All hard work we've done so far will pay off. Go to the 'Knowledge' tab and select 'KB' (Knowledge Base)
First, click the drop-down arrow of 'Train' and again on 'Full training'(1). We're doing a full training because it's the first time and we need the chatbot to syncronize all the data. It might take few minutes, depends on the number of questions you added. If after 10 minutes it's not ready, try refreshing the page.
After training, click on the 'Chat Bubble'(2) on the bottom right corner of your screen.
Go on! Try asking some of the questions you have introduced.


Keep in mind, the chatbot is not available for the users yet. You're intereacting with it from the 'Integration' view. If you want to know how to integrate your chatbot on your website or Teams, please visit docs.witivio.com
DOWNLOAD THE TUTORIAL
